RV Detailing: Protecting Your Motorhome from the Elements
Motorhomes live hard lives. They sit for weeks under sun that bakes clearcoat, then charge into rain squalls that drive road film into every seam. They camp under trees that drip sap, park at ocean campsites where salt spray fogs glass by morning, and bounce along gravel pads that pepper lower panels with chips. The scale of an RV magnifies small maintenance gaps into expensive repairs. A little oxidization on a hood becomes a chalky wall on a Class A. Neglected seals that would be a weekend fix on a sedan turn into weeks of water-intrusion damage on a coach.
RV detailing is less about making paint pretty and more about extending the working life of the motorhome’s exterior and interior surfaces. A proper routine combines smart washing, selective paint correction, practical protective chemistry, and a schedule that matches how and where you travel. The right approach keeps cleaning time short on travel days and protects your investment through four seasons.
Weather is a systems problem, not just a shine problem
Sunlight, water, and airborne contamination attack different materials in different ways. Gelcoat oxidizes and turns chalky as its resin breaks down. Automotive clearcoat loses gloss, then starts micro-cracking when UV inhibitors are depleted. Rubber gaskets dry and shrink. Anodized aluminum pits near saltwater. Polished stainless throws tea stains after one storm. Even modern plastics craze from UV stress.
On a motorhome, these materials meet at dozens of transitions, each a failure point if ignored. The roof membrane meets sealant joints, which meet fiberglass caps that meet window trim that meets paint. When I inspect RVs in for detailing, I look for how the whole system has been aging. You cannot fix the chalked sidewalls and ignore the roof seams or plastic vents. Protection has to address all of it, from roof to wheels.
The foundation is decontamination
A wash that leaves behind bonded grime is just a bath for the dust sitting on top. The contaminants that matter cling. They include iron particles from brakes, tar microdots from hot roads, tree sap atomized by wind, and calcium deposits from hard water. On a 35-foot coach, I budget double the time I would spend on an SUV for decontamination alone, because the square footage and height multiply the work and risk.
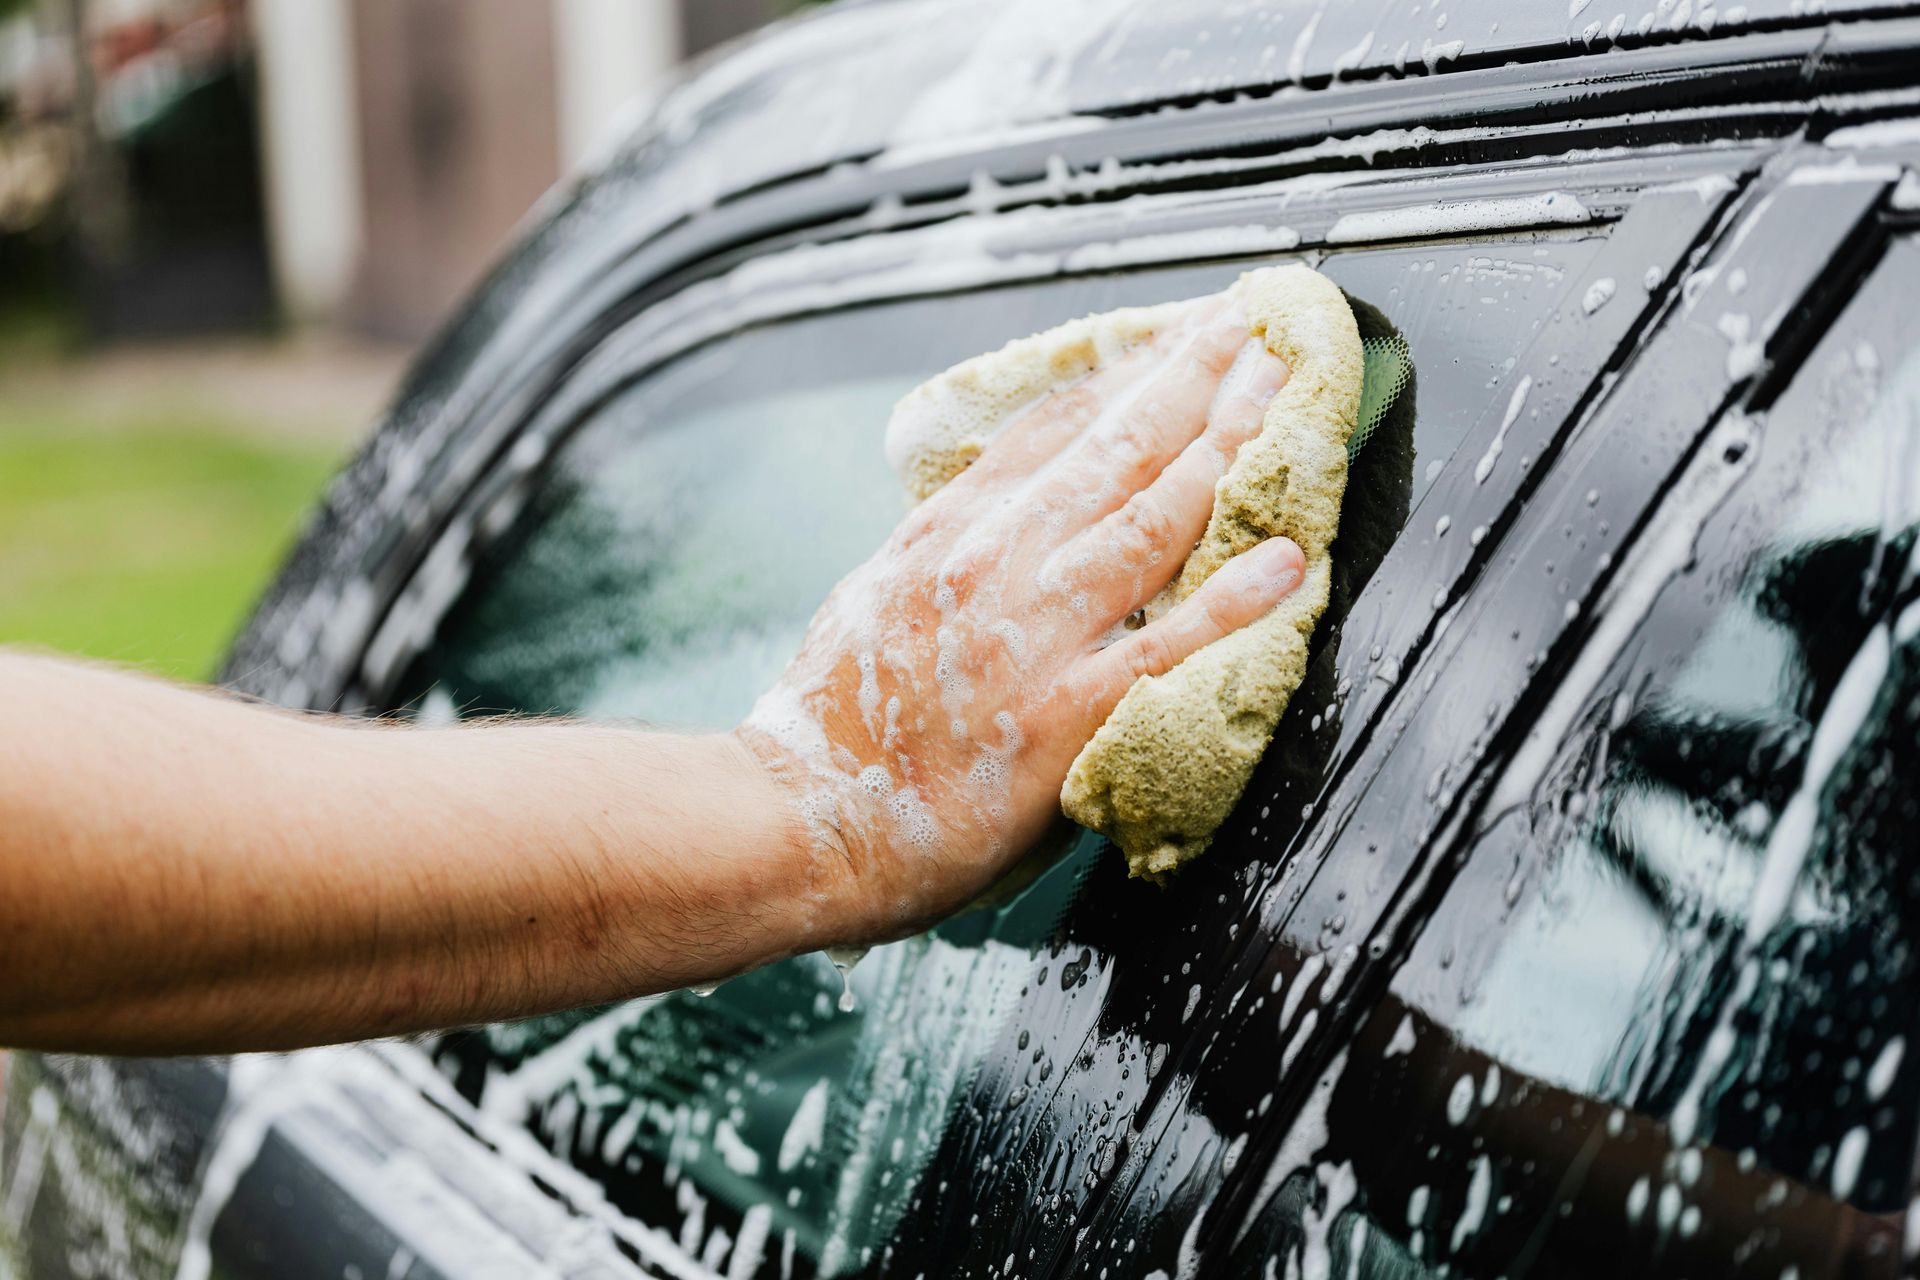
A proven sequence works best. Start with a thorough rinse to float off loose sand and reduce wash-induced marring. Foam with a pH-balanced shampoo and let it dwell to soften bugs and road film, then agitate top to bottom with a soft mitt and plenty of rinse water. Next, use a dedicated iron remover on painted and gelcoated sections, watching for the tell-tale purple bleed that shows embedded ferrous particles are dissolving. Rinse well. Follow with a dedicated bug and tar remover on the lower quarters and rear cap, since the vacuum at the tail packs grime there. If the surface still feels rough under a nitrile-gloved hand, clay with a medium-grade synthetic clay pad paired with a clay lubricant. Work small sections, especially on decals and near edges. The goal is a squeaky-clean, slick surface that will accept protection and, if needed, paint correction.
I keep two wash media sets on RV jobs to avoid reintroducing grit. One set for upper panels and glass, one for lower skirts and wheel wells. With the height of most coaches, a stable platform or scaffold is non-negotiable. Leaning off a ladder while running a DA polisher is how panels get gouged and wrists get sprained.
Paint correction on large panels requires restraint
Paint correction is the art of leveling clearcoat to remove defects, not a race to a mirror finish at any cost. On RVs, you often encounter a mix of automotive clear on the cab and front cap, marine-like gelcoat on sidewalls, and vinyl graphics or painted stripes with different hardness. Each requires its own pad, product, and speed.
On clearcoat sections, a dual-action polisher with a microfiber cutting pad and a diminishing abrasive compound will safely remove moderate swirls. I work a 2-by-3-foot section at a time and check with a swirl-finding light. Heat management matters on larger panels because you can cook edges or raise the temperature near polyurethane sealants. Keep the pad clean and replace it before it clogs. On many RVs, a one-step polish with a quality all-in-one can deliver 80 percent defect removal with far less time and clearcoat loss than a full two-step cut and polish.
Gelcoat behaves differently. It can handle more aggressive cutting, yet it also tends to haze and clog pads as dead resin lifts. Wool pads pair well with gelcoat, followed by a foam finishing pass. You may need to tape edges of decals because a heavy cut can burn through or stain them. I also test on a low-visibility area, because some aged gelcoat is so porous that compounding pulls oils into it, leaving blotchy patches that only resolve after a few cleaning and refining cycles.
Graphics and stripes bring judgment calls. If the vinyl is brittle, cracked, or shrunk, polishing risks lifting edges. In those cases, I taper down to a fine finishing polish and minimal pressure, or I avoid machine work entirely and let the protection step carry the gloss. A detailer’s ego loves a full correction. An RV owner loves a finish that lasts and a budget that survives. Pick the battles that matter.
Ceramic coating for RVs, done the right way
Ceramic coating, when correctly selected and applied, is the best long-term protection for most RV exteriors. It resists UV, fends off bird bombs and bug acids longer than wax or sealant, and makes washing faster on travel days. It is not a force field. It will not stop rock chips or prevent every water spot, but it buys time and reduces cumulative damage.
Product choice matters at RV scale. A coating with strong UV blockers and good chemical resistance, but forgiving flash time, keeps the process sane over large panels. Thick and grabby formulas can trap high spots that are hard to detect on white gelcoat under campground lighting. I prefer a system approach: base coating for durability, a topper for slickness, and a maintenance spray that plays well with both.
Application on an RV is about workflow discipline. Break the coach into logical zones: roof perimeter and caps, passenger side upper and lower halves, then driver side, then rear. Flag every hatch you open with painter’s tape so you do not lock it shut with cured coating. Work with the light across the panel to reveal high spots, and keep a second set of towels reserved just for knockdown. On darker painted coaches, I build in extra inspection passes because high spots telegraph as oily, haloed patches once cured.
Expect a coated motorhome to wash easier, shed rain faster, and resist bugs better. Also expect to maintain it. A quick hand wash every few weeks on the road, a decontamination wash every few months, and a topper every 4 to 6 months keeps the coating behaving like new. Neglect a coating and it will look and feel like neglect within a season.
Wheels, tires, and brakes: the dirtiest square footage per square foot
RV wheels collect a season’s worth of ferrous fallout in a single mountain pass. Brake dust bakes into clear-coated aluminum or polished alloys. During detailing, a dedicated wheel cleaner and iron remover loosen the bond, followed by gentle agitation with foam brushes. I avoid harsh acids on polished finishes except in controlled spot work. Once clean, wheel coating pays dividends by reducing future bake-on and making wash time quick. Tire dressings on RVs should be UV-focused and non-greasy to avoid sling. If sidewalls show micro-cracking, I stop the shine game and focus on conditioning and sun shielding. A glossy finish on a compromised tire is theater, not care.
Interiors age even when parked
RVs live as homes as well as vehicles. Spills, cooking oils, pet hair, and sunscreen residue add up fast. Interiors also have materials we rarely see in cars: lightweight veneers, delicate fabrics, soft-touch plastics, and foams. A vacuum with HEPA filtration helps in tight spaces because you will kick up a lot of dust from vents and under-seat storage.
Fabric protection and interior coating reduce stains and make wipe-downs faster. On high-touch pieces like the driver’s armrest, dinette seats, and fridge handles, a light interior ceramic layer prevents oils from sinking in and turning surfaces shiny and sticky. Leather in motorhomes ranges from entry-level coated hides to premium aniline-like finishes. I always test cleaners on a hidden edge and stay with pH-balanced products, then seal with a breathable protectant. Avoid saturating foam cushions; instead, use controlled misting and immediate towel extraction.
A trick learned the hard way: protect the entry step trim and grab handle with a sacrificial film or frequent sealant. Sunscreen and bug spray wreck these areas fast, and a small shield here prevents a grim halo around the door.
Roofs and sealants decide whether you get leaks next season
Most RV owners overlook the roof because it is out of sight. It is also the surface that gets the most UV exposure and the most punishment from branches, acorns, and bird droppings. EPDM and TPO membranes need gentle, regular cleaning with the right chemistry. Use a dedicated roof cleaner, soft brush, and low pressure rinse. Avoid solvent-based products that can swell or degrade the membrane.
While cleaning, scan every seam and penetration. Look for crazing, pinholes, pulling edges on lap sealant, and any sign of discoloration after heavy rain. Sealant care is not glamorous, but it is where detailing meets preservation. I note issues with photos, then coordinate with the owner for reseal work. A light protectant safe for the roof type slows UV damage, but skip any product that leaves a slick surface that could be dangerous underfoot in dew.
Decals and graphics need different rules
Even modern vinyl has a service life. Sunlight, heat cycles, and washing take their toll. When detailing around decals, use less aggressive pads and polishes, reduce pressure, and move the machine off the edges rather than into them. If a decal is beyond saving, covering it with coating will not reverse shrinkage or cracks. In those cases, I protect surrounding paint and let a sign shop handle replacement. A clean, coated surface around the decal area makes the reapplication easier and prevents ghosting from adhesive residue.
Salt, sap, and dust call for regional strategies
Coastal rigs build salt film fast. It deposits overnight and draws moisture from air, leading to round water spots with a salty crust. Frequent fresh-water rinses help, but the real solution is a protective layer with good chemical resistance and periodic neutralizing washes. Inland forests yield sap mist and pollen that bind to paint and glass. In desert regions, dust infiltrates everything and dry washes add micro-marring in a hurry. An RV detailing plan that works in Arizona will not be ideal in Florida. Adjust your wash frequency, product choice, and inspection habits to match where you park and drive.
Where auto detailing and marine detailing overlap on RVs
Many motorhomes share construction features with boats: gelcoat panels, stainless hardware, and sealant management. Techniques from marine detailing help with chalky gelcoat restoration and rust-tea staining around fasteners. Oxidation on gelcoat often requires a more aggressive cut and a heavier body product to refinish, followed by a protection layer that can flex with thermal expansion. Applying a marine-grade ceramic on gelcoat can work well because it is formulated to handle higher UV and salt exposure. On the flip side, automotive clearcoat behaves differently and requires a lighter hand. The skill is in spotting which surface you are touching and switching playbooks on the fly.
Headlight restoration on tow vehicles and coach lamps
Your coach likely shares night duty with a toad or a trailer. Clouded headlights are both a safety issue and a stain on the overall look. True headlight restoration means sanding through the failed UV layer, refining, then applying a UV-stable coating. Quick wipe-on kits can look good for a month, then haze again. I keep sanding discs from 600 through 3000 grit, finishing with a plastic polish and a dedicated headlight ceramic or 2K clear where appropriate. On RVs with polycarbonate coach lamps, test small, because thin edges can distort with heat.
Detailing on the move: the case for mobile detailing
Not every owner has a covered bay and a rotary lift. Many live on the road. Mobile detailing solves the practical problem, but it introduces constraints. You contend with campground water quality, power access, wind, dust, and neighborly space. The answer is redundancy and planning. Carry an inline water filter and a rinseless wash option for drought-restricted parks. Use soft, wide booms or telescoping poles to reduce ladder time. Work early to beat wind and sun that flash-dries panels. When I schedule a large rig outdoors, I plan the sequence around the sun arc and prevailing wind. It sounds fussy until you chase high spots on a south-facing wall at noon and realize half your coating has already cured.
What On the Spot Mobile Detailers checks before touching a coach
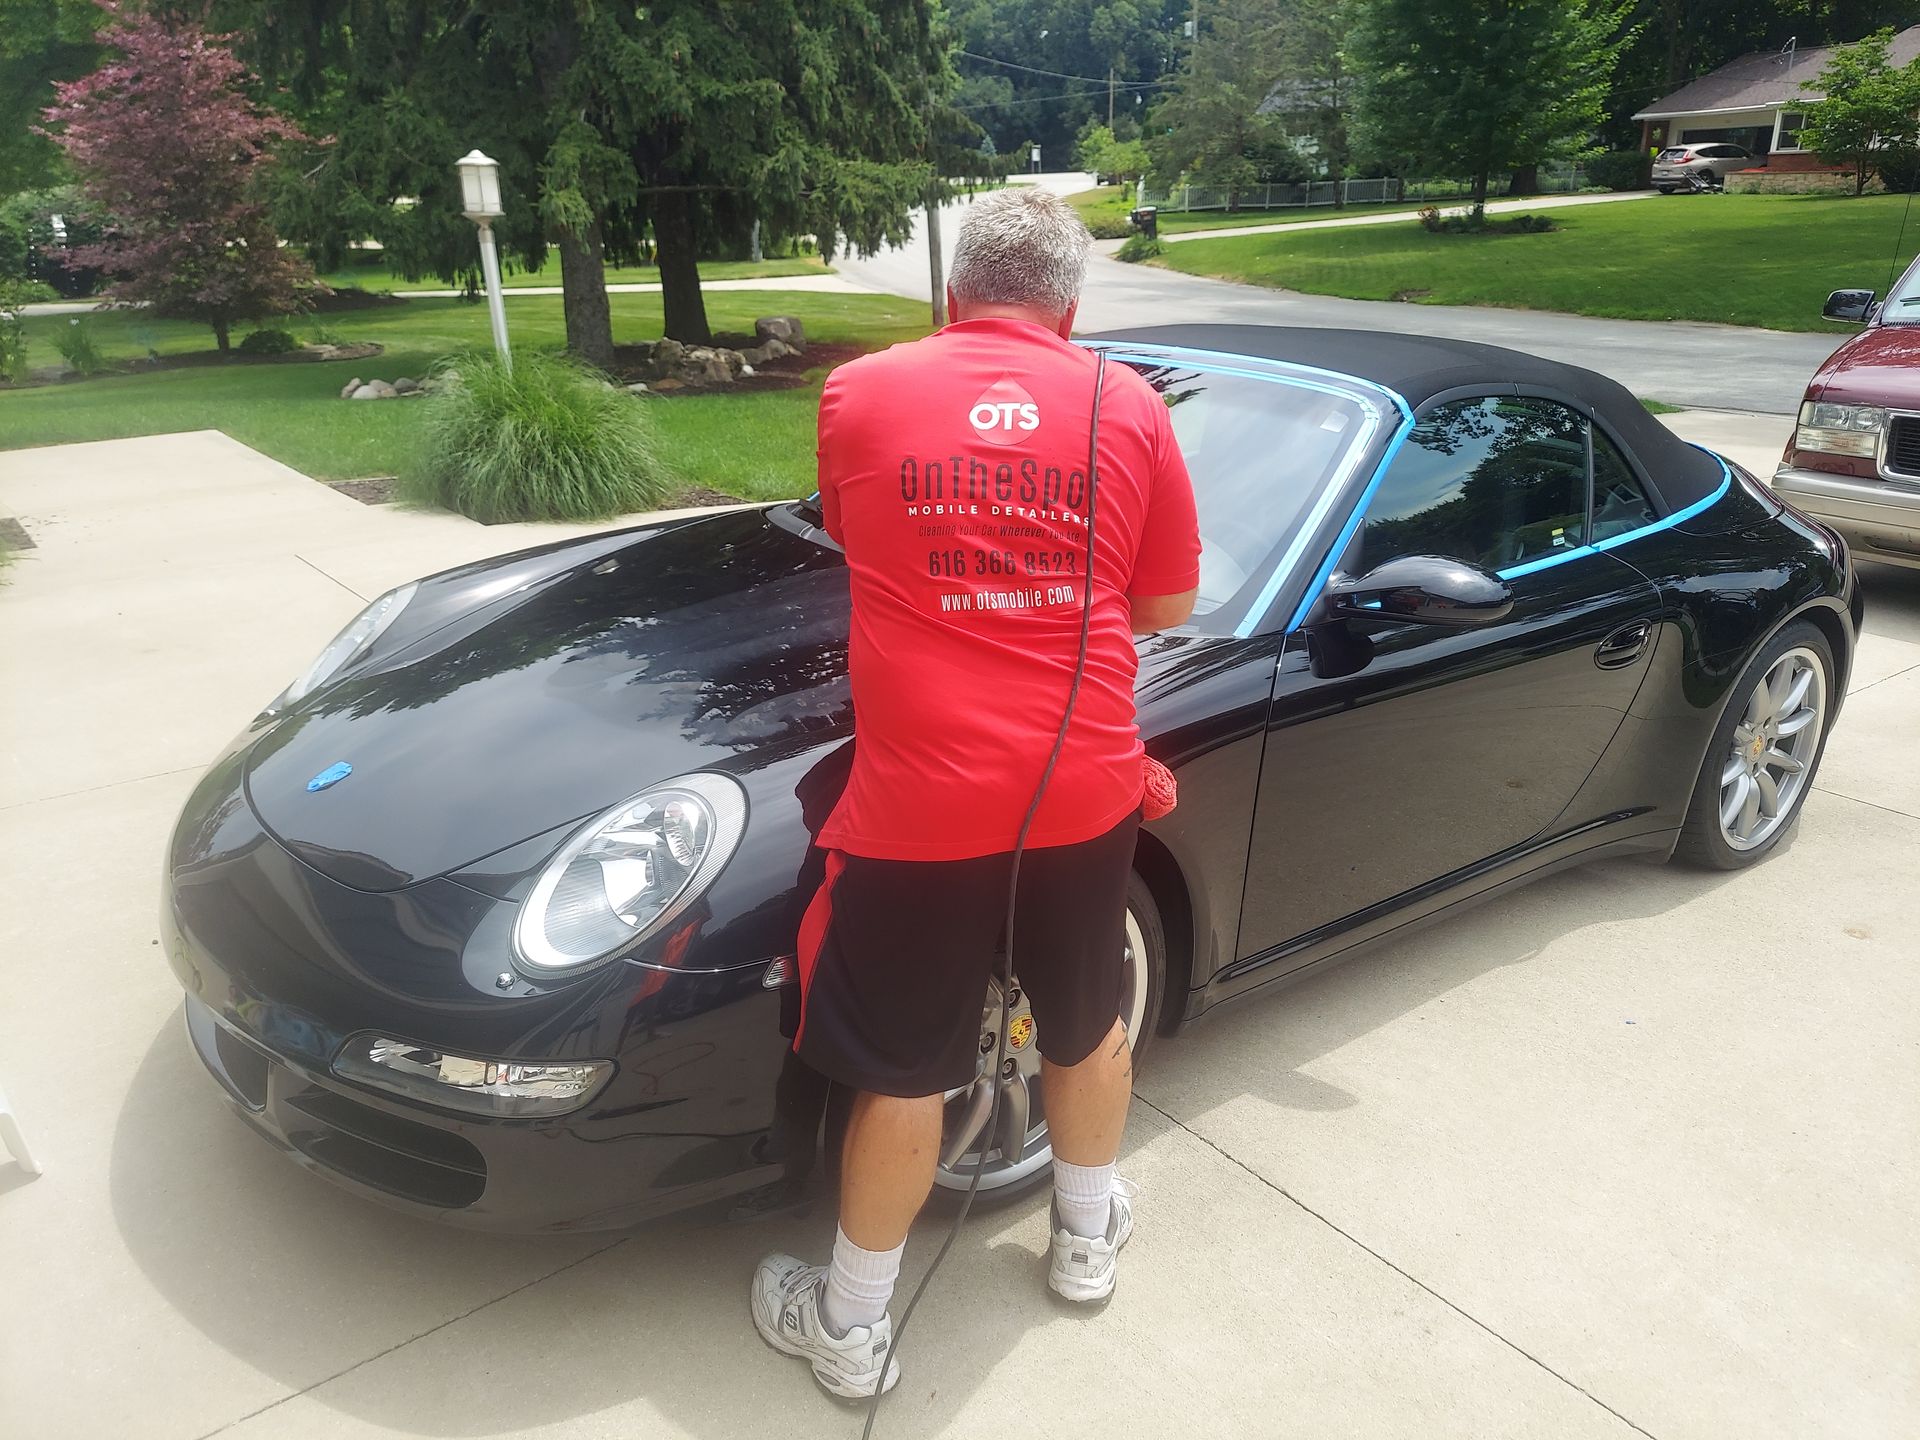
At On the Spot Mobile Detailers, the first half hour is inspection and owner conversation. If we know a rig lives near the coast, we look harder for corrosion at fastener heads, hinges, and behind wheel liners. If trips run through forested mountain passes, we search for tar peppering and sap strings on the rear cap and ladder rungs. For clients who asked for ceramic coating serving Grand Rapids, MI, we built a workflow that accommodates city water hardness and sudden lake-effect weather changes. We test the paint system at the front cap, check the roof membrane type, inspect decal health, and map out electrical access for polishers. Truthfully, we reject some full corrections because the clear is too thin or the graphics too fragile. Protecting the RV long term beats chasing a temporary showroom gloss.
When RV detailing meets residential coating and storage realities
Owners who store their RV beside a home often ask about residential coating for the nearby garage door, siding, and outdoor kitchen to keep the zone easy to clean. It is a practical pairing. If your coach parks on a pad under a tree, coating the pad’s pavers and the wall that faces the RV keeps splash-back grime and mildew off your freshly detailed sidewalls. I have treated garage interiors so the rig can be rinsed without saturating drywall. Detailing is not just about the vehicle, it is about the environment you park in and how that environment ages your investment.
The right frequency and the right compromises
RV detailing schedules vary. A full-time traveler needs a quarterly decontamination wash and inspection, with lighter hand washes in between. A seasonal camper who stores indoors might stretch decontamination to twice a year. Ceramic-coated rigs can go longer between major efforts, but they still need washing and periodic toppers to keep hydrophobics lively. Wax and sealant users accept more frequent application and shorter durability in exchange for lower upfront cost. There is no single right answer, only smart trade-offs based on how you use the rig and what you are willing to do between professional visits.
On the Spot Mobile Detailers field notes: a paint correction choice that saved future headaches
We once evaluated a 40-foot diesel pusher with deep swirls, buffer trails from a previous attempt, and several failing decals. The owner wanted a showroom finish. During our test spot, the clearcoat measured thin on the top of the passenger slide. Chasing perfection would have meant removing too much material there. We chose a one-step polish with a finishing pad and medium cut polish, which corrected about 75 percent of defects and preserved the margin for future maintenance. Then we applied a ceramic coating tuned for UV load. Four months later, after a long run through dusty plains and mountain rain, the owner sent photos. It washed clean with a gentle rinse and mitt. The decals still looked tired, but the paint had a deep, consistent gloss. The earlier disappointment over not doing a multi-step correction turned into relief that we had saved the paint for the long term.
The quiet value of glass care
RV windshields are huge and sometimes built in two panes with a central seam. They catch everything. I clean and decontaminate glass just like paint, using a dedicated glass polish or a fine-grade clay to remove wiper chatter marks and water spots. A well-applied glass sealant improves wet weather visibility and reduces bug adhesion. Be careful around rubber seals, which can react to aggressive solvents. On frameless RV windows, a light ceramic layer helps repel dirt, but always check for manufacturer notes regarding coatings on tinted or coated glass.
Avoiding water spot etching in hot climates
Water spots are more than ugly circles. In heat, minerals etch into clearcoat and glass. On a white Class C, you may not notice for months, but on a dark Class A the halos show up after a single ill-timed wash. If you must wash in sun, work very small sections, keep a second person on the rinse, and use deionized water if available. A drying aid or silica spray during towel drying adds temporary protection and reduces friction. If etching happens, a water spot remover can dissolve deposits, but true etching requires polishing. Coatings slow this damage, but they are not immune.
Interior air quality and HVAC details most people miss
An RV’s HVAC pulls through intakes that sit close to road grime, pollen, and pine needles. During an interior detail, remove and clean return grilles, vacuum ducts you can ceramic coating reach, and replace filters. Wipe vent vanes with a mild cleaner to remove sticky film that grabs dust. If a faint odor lingers, check under the bed platform for forgotten damp items and inside the wet bay where water can wick into insulation. Detailing is as much detective work as it is scrubbing.
Safe chemistry for mixed materials
An RV is a patchwork of substrates: clear-coated aluminum, fiberglass, gelcoat, stainless steel, ABS plastics, EPDM or TPO roof membranes, natural wood veneers, and synthetic laminates. A cleaner that excels on one can harm another. APCs with strong alkalinity strip waxes and can dull soft plastics. Solvent-heavy tar removers can swell gaskets. Acidic wheel cleaners can frost bare aluminum. Build a small kit of surface-specific products and label dilution ratios. When in doubt, test and downgrade aggression before you scale up.
A compact RV detailing checklist you can actually follow
- Rinse and foam wash, working top to bottom, two bucket or foam-and-rinse method.
- Chemical decontamination: iron remover on paint or gelcoat, tar remover on lower zones, then rinse thoroughly.
- Mechanical decontamination: clay as needed, gentle on decals.
- Correction and refinement: spot test, pick a conservative system, tape edges and gaskets.
- Protection: ceramic coating or sealant on paint and gelcoat, wheel coating on wheels, interior coating on high-touch areas, glass sealant on windshield and windows.
When to call a pro, and what to ask
If you see widespread oxidation, decal failure, or water spotting on glass that does not respond to normal cleaning, it is time for professional help. Ask how the shop distinguishes between gelcoat and clearcoat and what their plan is for each. Ask for a test spot, and ask what they will do if paint proves thin or graphics start to lift. If you are considering ceramic coating, ask about maintenance expectations and what products are compatible. The best answer is a plan that preserves material first, then chases gloss.
Why mobile detailing skills translate to better RV outcomes
Shops with experience in mobile detailing know how to adapt to wind, sun, and space. That matters for RVs because many services happen in the driveway, storage lot, or campground. On the Spot Mobile Detailers built standard operating procedures around shade management, water control, and contingency plans for sudden weather changes. That habit of planning shows up in little ways, like labeling slide seals we treated so we do not over-apply next visit, or photographing roof seams after cleaning so the owner has a reference for future changes. Detailing is service, but it is also stewardship. A motorhome spends years between the dealer lot and the resale ad. Thoughtful, repeatable care keeps its surfaces, seals, and systems working with fewer surprises.
Bringing it all together
Protecting an RV from the elements is not a single product or a one-time service. It is a practice. Keep the roof clean and inspected, decontaminate before you protect, correct paint only as much as the material allows, and choose coatings or sealants that match your travel. Maintain glass, wheels, and interiors with the same attention you give the broadside wall. Adjust your schedule to the climate you cross and the place you store. Whether you tackle the work yourself or partner with a professional like On the Spot Mobile Detailers, the goal is the same: fewer breakdowns in the finish, less time scrubbing on travel days, and a motorhome that looks ready for the road every time you pull the cover or turn the key.